
Master Food Costing with Precision Weighing
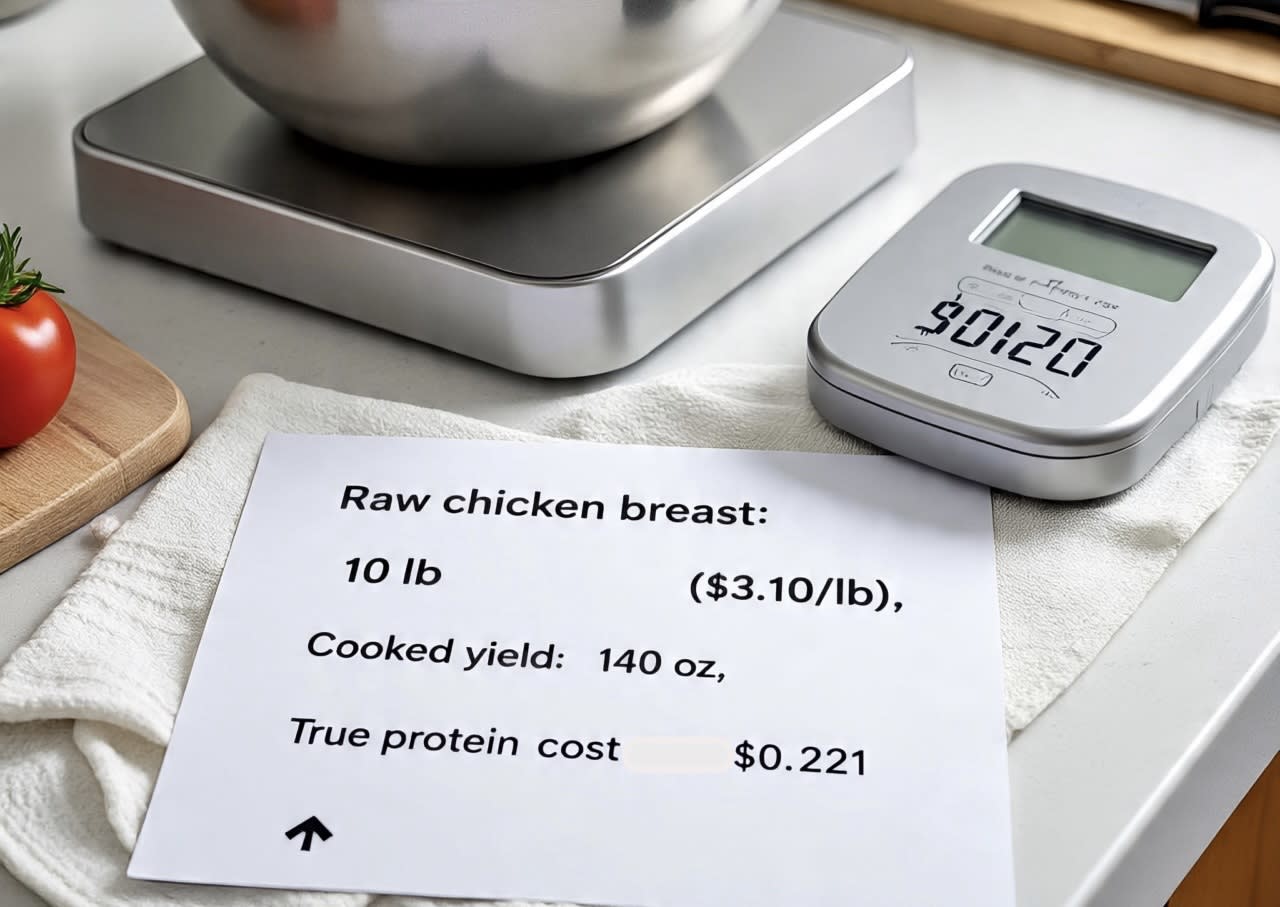
Precision in weighing is the foundation for consistent portions, better pricing, and a healthier bottom line. Here's how to develop a process that ensures every meal is both profitable and customer-pleasing—every single time.
Why Weighing Matters
- Controls Costs: Knowing the exact cost per ounce means setting accurate menu prices and netting your target profit—even after fees.
- Prevents Over-Serving: Standardizing serving sizes avoids "portion creep," where staff give out extra food by accident.
- Reduces Waste: Consistency means less food tossed out at the end of the day.
Step-by-Step: Weigh for Success
1. Weigh Every Raw Ingredient
Before cooking, measure each major component (like protein, veg, cheese, or starch) in ounces or grams. Write it down—this shows your "as purchased" cost.
Example: Chicken breast, raw: 8 oz
2. Weigh the Cooked Ingredient
Cook, then weigh again. Cooking causes weight loss due to water loss and shrinkage, so your "cooked yield" (final usable portion) matters most for costing.
Example: Chicken breast, after cooking: 6 oz
3. Calculate Cost Per Ounce Cooked
Divide the total ingredient cost by the final cooked ounces.
Example: $4.00 raw ÷ 6 oz cooked = $0.67 per cooked oz
4. Build Your Meal by Weight
Choose portion sizes for each plate—by weight—not "eyeball" or "grab." Add up the cooked ounces of each part to find the total plate weight and true cost.
Example Meal:
6 oz chicken + 4 oz veg + 2 oz rice = 12 oz entrée
True cost = (6 × $0.67) + (4 × veg cost/oz) + (2 × rice cost/oz)
5. Repeat Consistently
Prep staff should always use scales, portion scoops, or pre-marked containers for every meal. Training and regular checks keep portions right and costs under control.
Tips for Consistent Portions
- Use color-coded scoops for different weights and foods.
- Pre-portion proteins, sides, and even sauces during prep.
- Audit portion accuracy regularly—and coach staff if you spot drift.
- Record all recipe weights and serving sizes on printed cards or digital kitchen screens.
Getting this "weigh it, cook it, portion it" process right ensures your menu prices are built on real, reliable numbers. That means confident pricing, fair and predictable servings, and less food going in the trash—every plate, every order.